When you try on a shirt with AI, the tool doesn’t redraw your whole body. It keeps your face, body shape, skin tone, pose and background exactly as they are, and replaces only the clothing area. Anything the AI can’t see clearly, it has to guess. That’s why the photo you start with decides most of the result: the clearer the photo, the less guessing, and the more the preview looks like you.
The good news is that you don’t need a proper camera or a studio. A phone, a plain wall and some daylight are enough. This guide covers what a good full-body photo needs, how to take one when you’re on your own, and the small mistakes that quietly make virtual try-on results worse.
Why the input photo matters so much
Think of the AI as a tailor who can only see you through one picture. The tailor needs to see how wide your shoulders are, where your waist sits, how long your legs are and how your arms hang. If the picture is dark, cuts off at the knees, or shows you holding a bag in front of your stomach, the tailor has to invent the hidden parts. Sometimes that guess is right. Sometimes it isn’t.
AI try-on works the same way. The tool has to work out which part of the image is your body, which part is the outfit you’re currently wearing and which part is the background. Then it places the new garment in the right spot and makes the fabric fall in a way that matches your pose. Every hidden or blurry detail is a gap the AI has to fill on its own. A good photo won’t make you look better than you are, but it makes the result more honest: closer to how the garment would really look on you.
If you want to understand what the AI keeps and what it changes, read is AI try-on accurate? alongside this guide.
Six things every full-body photo needs
1. Head to toe in the frame
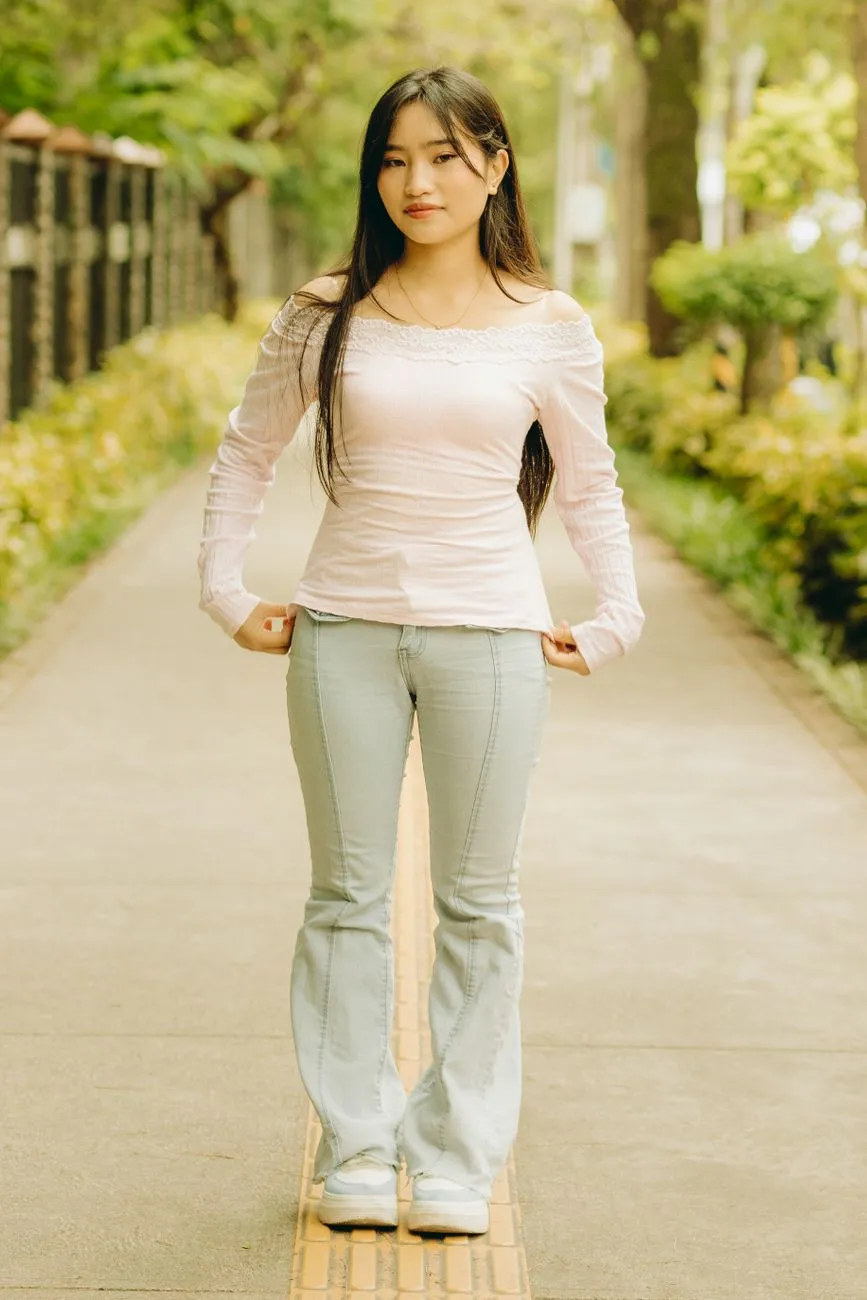
Your whole body should fit inside the frame with a little space above your head and below your feet. A photo that stops at the knees makes trousers and dresses come out cropped or the wrong length: a midi dress can end up looking like a mini simply because the image ran out. If you plan to try on long trousers or a maxi dress, your lower legs and ankles need to be clearly visible.
2. Stand straight and face the camera
Let your arms hang naturally by your sides, held slightly away from your body so your waistline shows. Don’t cross your arms, put your hands in your pockets, or hold a phone or bag in front of you. Keep your weight evenly on both feet. The simpler the pose, the easier it is for the AI to place a top and trousers where they belong.
3. Bright, even light from the front
Standing near a window during the day is usually enough, as long as the light falls on your face and body rather than coming from behind you. Lighting gets its own section below because it’s the easiest thing to fix.
4. A tidy background
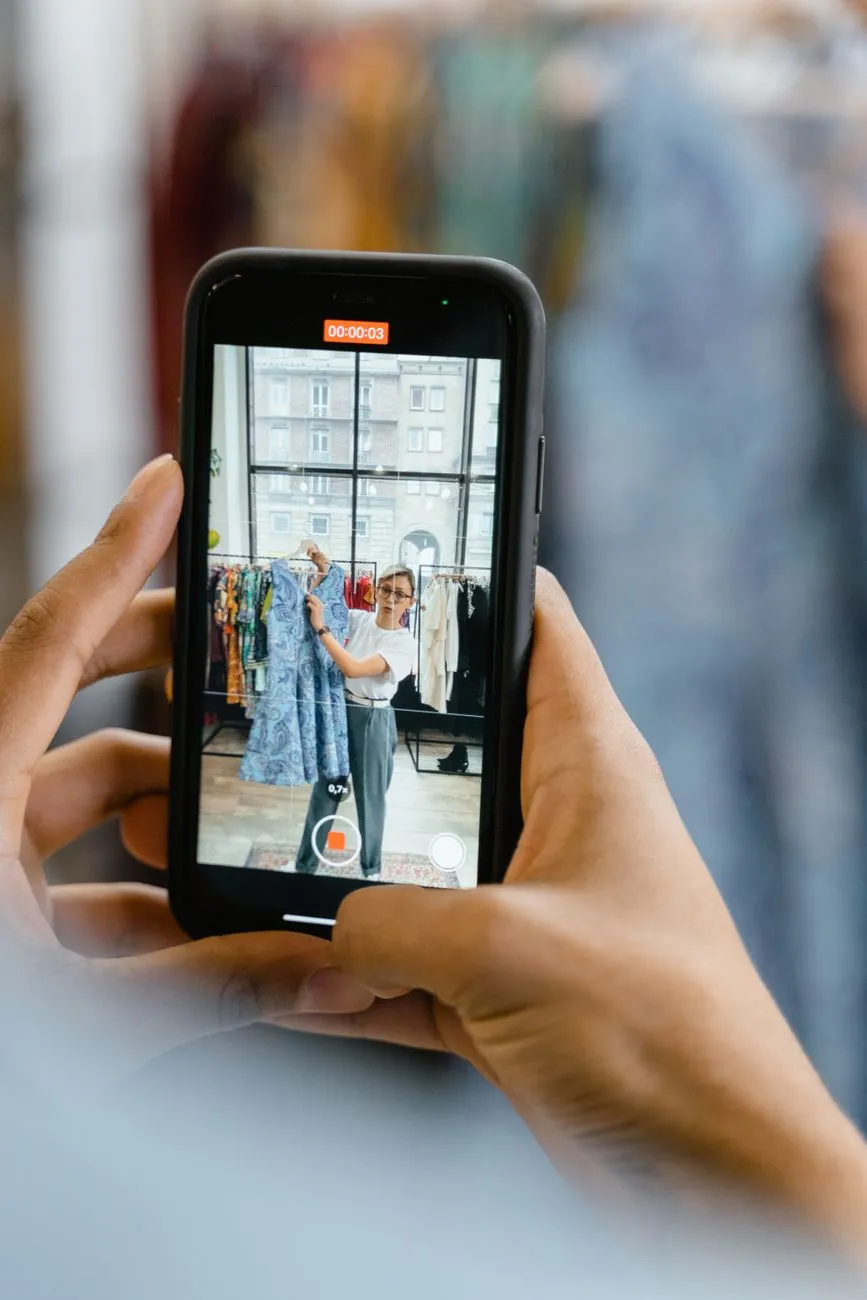
A plain wall, a closed door or an uncluttered corner of a room helps the AI separate you from your surroundings. The background doesn’t need to be white, just calm. Avoid standing in front of a rail full of clothes, because the AI can confuse what you’re wearing with what’s hanging behind you.
5. Clothes that fit close to your body
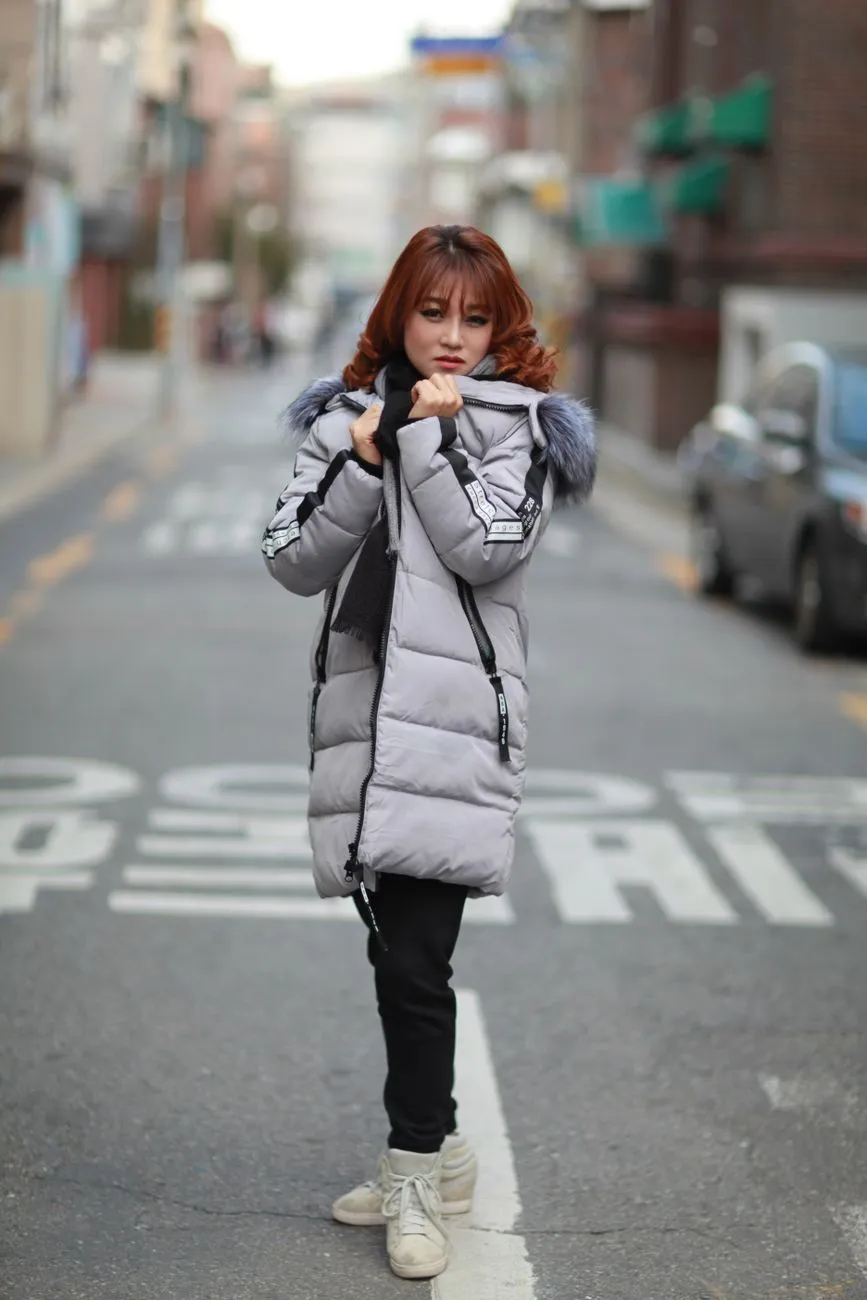
This one surprises people. A puffy coat, an oversized hoodie or a very full skirt hides your actual shape. The AI then can’t tell where your shoulders end or where your waist is. Wear a fitted T-shirt and slim trousers or shorts for the photo. Solid colours work better than busy prints.
6. Only one person
With a group shot, the AI doesn’t know whose clothes to change. Cropping a group photo rarely works well either, because you usually lose your feet or end up with someone else’s arm in the frame. Take a dedicated photo of just you.
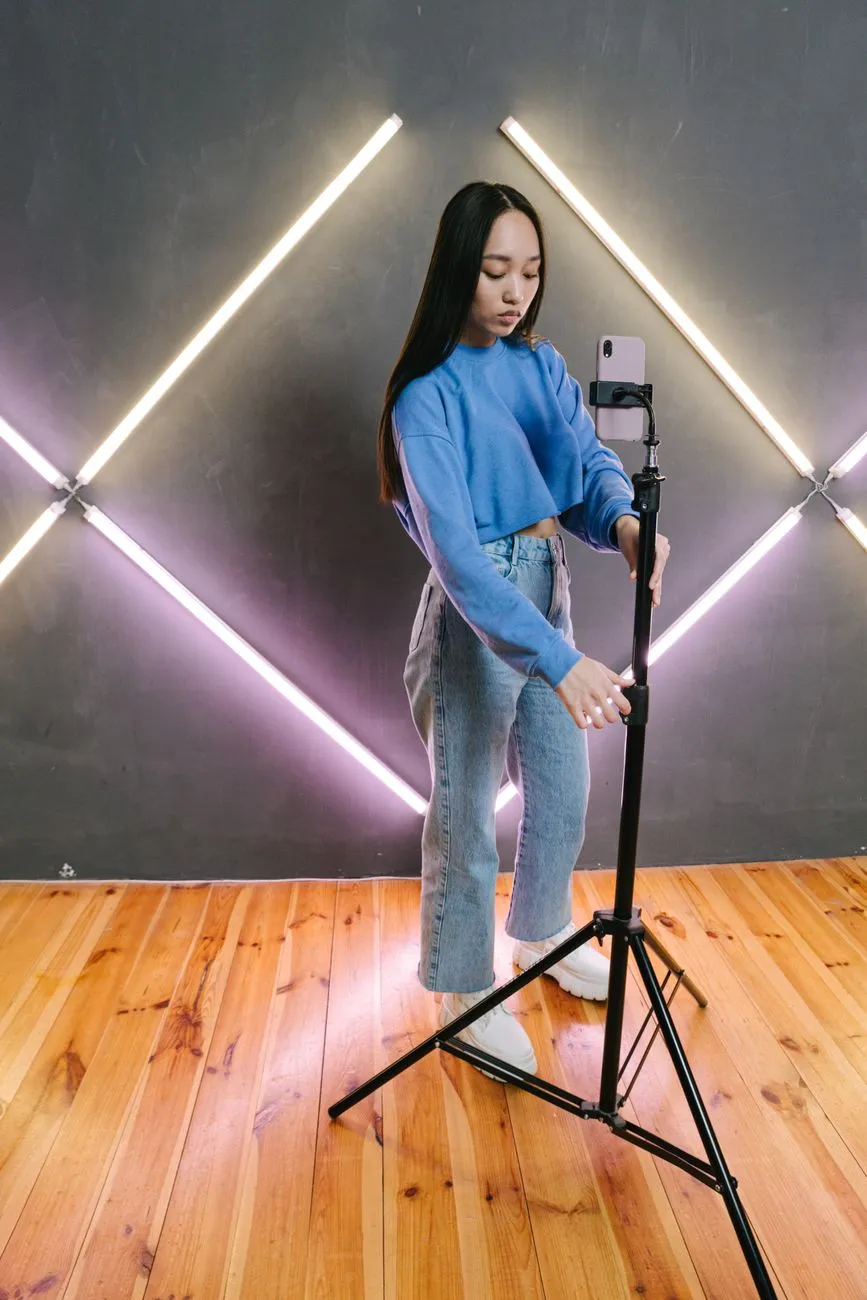 Photo: Ivan S / Pexels
Lighting: the easiest thing to fix
Most disappointing results come from poor lighting rather than a poor pose. The skin tone and garment colours in a try-on preview depend on the light in your original photo, because the AI keeps your scene and tries to make the new garment match it.
Do
- Shoot during the day, near a window. Face the window or stand at a slight angle to it. Natural light gives the most faithful skin tone.
- If you shoot in the evening, switch on the ceiling light and add a lamp in front of you so half your body isn’t in shadow.
- Stick to one kind of light. Mixing warm bulbs with cool window light gives patchy skin tones and makes colours drift in the result.
Avoid
- Standing with your back to a window or lamp. You become a silhouette.
- Harsh midday sun hitting you directly. It throws deep shadows under your chin and across your clothes.
- Coloured or decorative LED lighting. It shifts both your skin tone and the colour of the garment.
Taking the photo on your own
Most of us take try-on photos alone, and that’s completely fine.
Use the self-timer
- Prop your phone at hip height on a shelf, a low table or a stack of books, in portrait orientation.
- Stand about two to three metres away so your whole body fits. In a small room you can switch to the wide-angle lens if your phone has one, but don’t stand right at the edge of the frame, since wide-angle lenses stretch the edges of the image.
- Turn on the camera’s timer (3 or 10 seconds), step into position and take a burst of shots.
- Pick the one where you’re standing straightest, your hands aren’t covering your body and your eyes are open.
A small phone tripod makes this much easier, but it isn’t essential. A steady pile of books does the job.
Mirror selfies
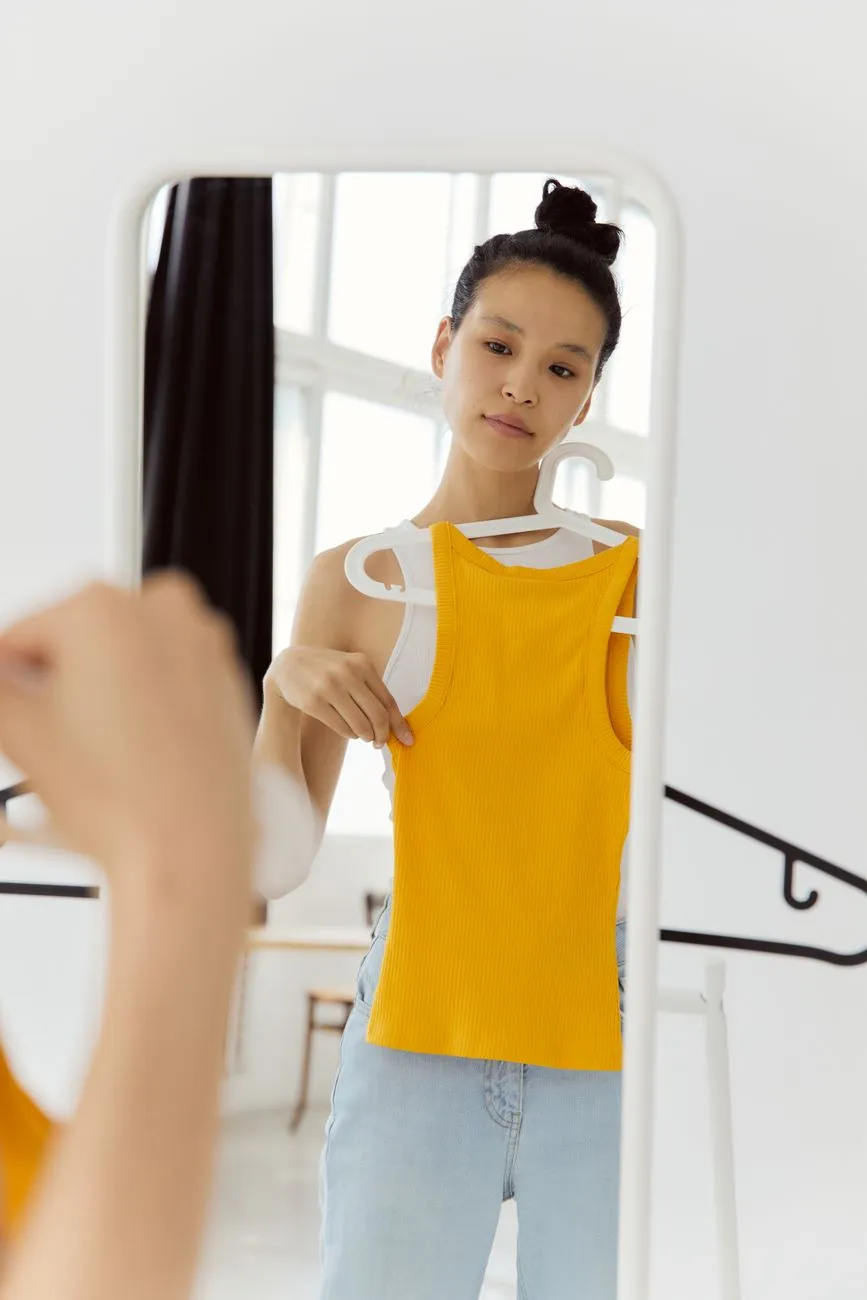
A mirror photo works too, as long as the phone doesn’t cover your face and the mirror shows your whole body. Hold the phone at chest height rather than in front of your face, and step back until the mirror captures you from head to toe. Wipe the mirror first, because smudges and steam soften the image. Skip curved or distorting mirrors.
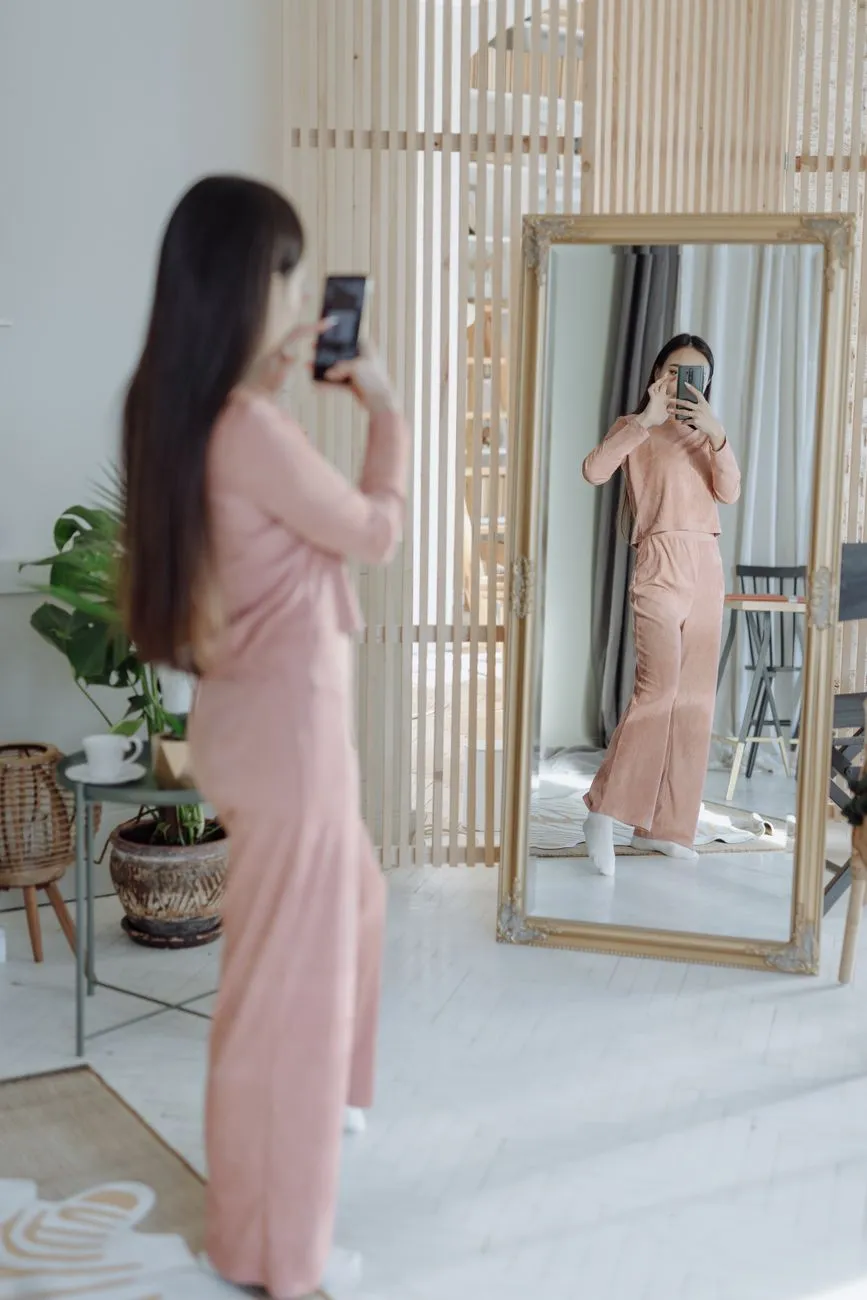 Photo: Thirdman / Pexels
Asking someone else
If someone can help, ask for two things: hold the phone at your hip height, not their eye level, and keep it level instead of tilting it down. People often angle the phone downward out of habit, but for try-on, a straight, simple shot is the good shot.
Mistakes that make results worse
- Sitting or leaning: clothes struggle to follow your shape, and long trousers or skirts can look broken at the joints.
- Shooting from above: your legs look shorter, your head looks bigger and trousers come out with the wrong proportions. Keep the camera at hip height.
- Beauty filters: they change your skin tone, smooth away detail, and some even stretch your legs. The result is then a picture of someone else, not you.
- Large bags, scarves or a coat over your arm: they hide the very part of your body the new garment needs to cover.
- Screenshots or heavily compressed images: photos saved from social media are usually softer than the original. Use the original from your camera roll.
- Long hair covering your shoulders and chest: if you can, push it behind your shoulders so the neckline and shoulder line are visible, especially when trying tops with an interesting collar.
Choosing what to try on
You can try single pieces or complete outfits: a top, a top with trousers, or a dress. Trying a full outfit shows you how colours and proportions work together, which looking at each piece separately never will.
Product photos shot clearly on a plain background usually give better results than images of a model in a complicated pose. If a store offers several pictures, choose the straight-on shot that shows the entire garment, unfolded and uncropped. For tops with small print or fine patterns, pick the highest-resolution image you can find.
A try-on preview shows you the silhouette and how colours work on you. For sizing, you still need the store’s size chart. Our guide to trying on clothes online before buying explains how to measure yourself and read a size chart.
What happens to your photo
Uploading a full-body photo of yourself to a website makes many people hesitate, and that hesitation is healthy. Before you use any virtual fitting room, check what it does with your images.
At Macgi, your photos are used only to create your own try-on images. They are never posted, shared, used for ads or used to train AI. The temporary copy sent to the AI is deleted automatically within 24 hours, and photos saved in your profile can be deleted at any time. It runs in your phone’s browser with nothing to install, so you can take the photo and try clothes on the same device.
Frequently asked questions
Do I need a professional camera?
No. Your phone’s rear camera is plenty. The rear camera is usually sharper than the front one, so if you’re using the self-timer, use the rear camera.
Can I reuse one photo for many try-ons?
Yes. Once you have one good photo, you can use it to try on lots of different pieces. That’s why spending a few minutes getting it right once is worth it.
How long does a result take?
Usually about 15 to 40 seconds. The first try after a quiet period can take a little longer.
Will the AI slim me down or change my shape?
It shouldn’t. An honest try-on tool keeps your body exactly as it is, because the point is to see the garment on you rather than on an edited version of you. If you’re looking for help choosing shapes that suit you, petite outfits that look taller is a good place to start.